
Google Setup Guide
For sites that use Google Analytics 4 and Google Tag Manager, Cookie Control can be integrated with Google Consent Mode v2 with minimum or no code using our GTM Template and following the steps below.
Anchor link for Add the Cookie Control Consent Template to Google Tag Manager
- Download our GTM Consent template(opens in a new window).
- Within GTM create a new container or open an existing one.
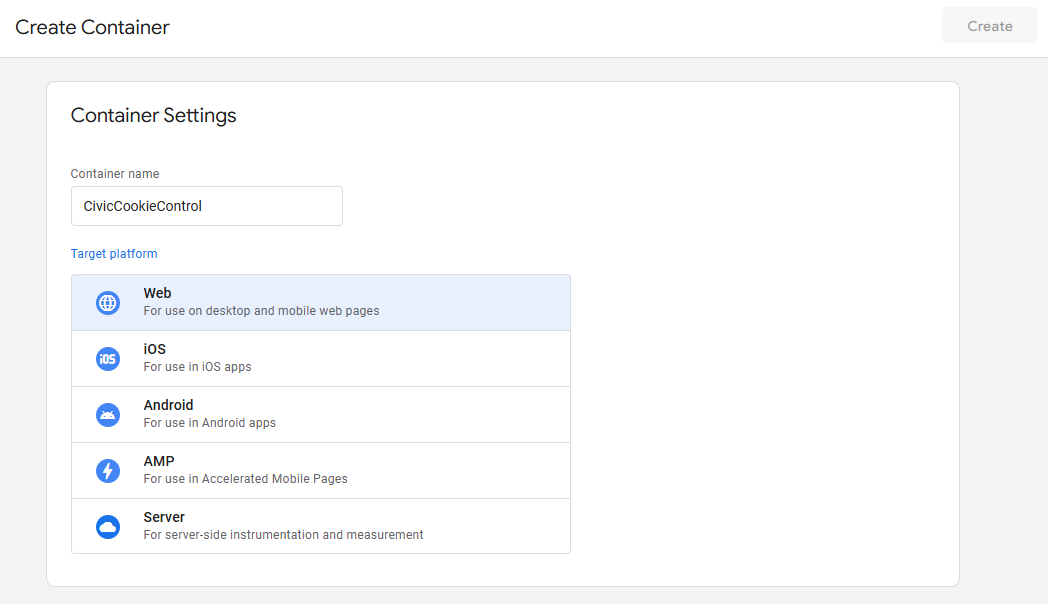
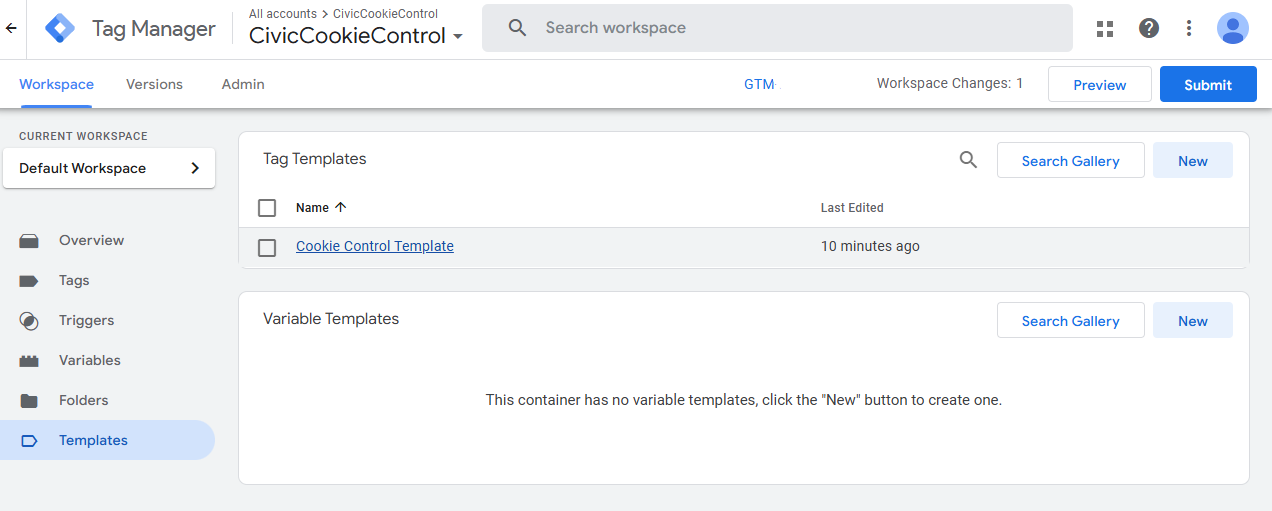
- From the left hand menu, select 'Templates'.
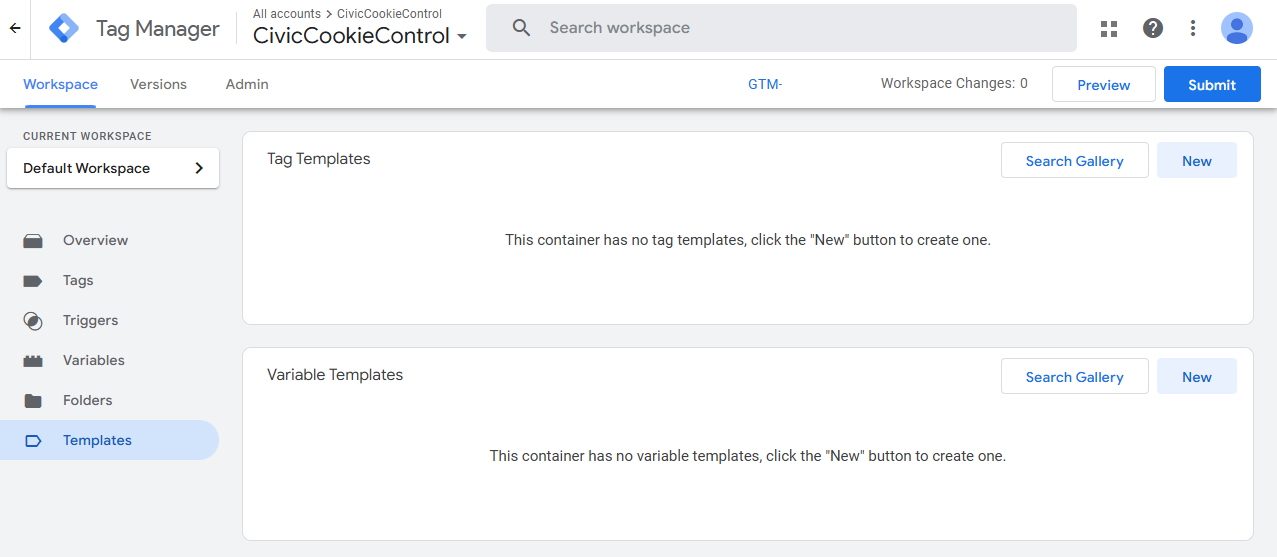
- From the 'Tag Templates' panel, select 'New'.
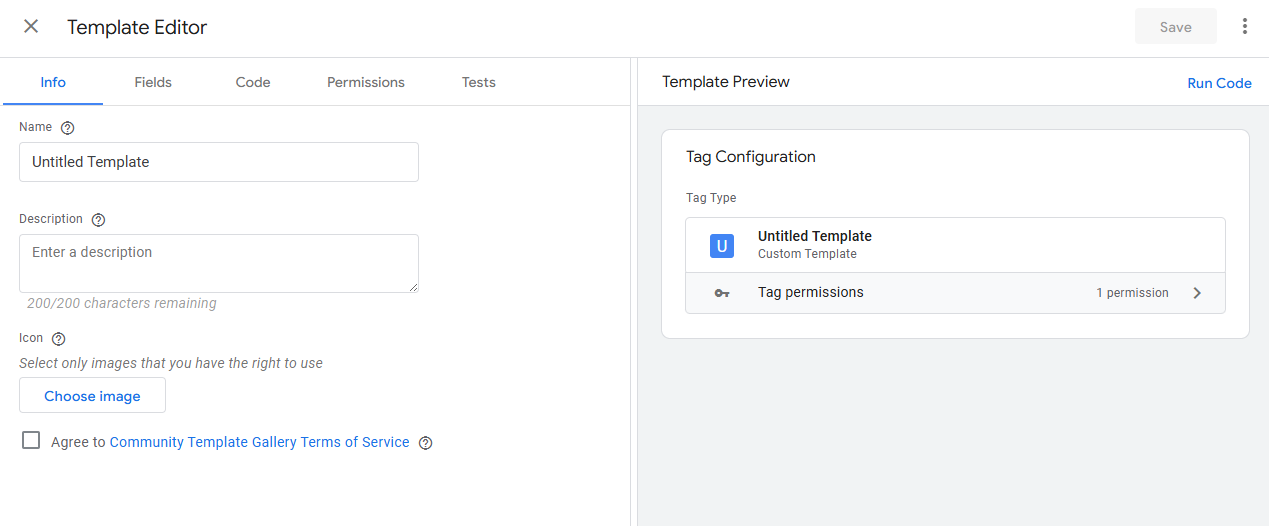
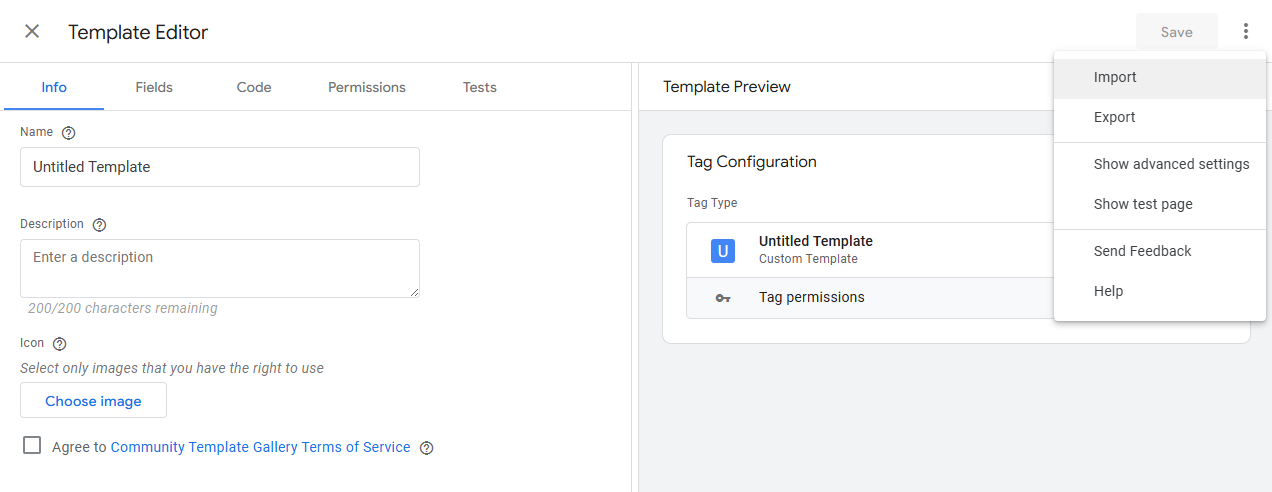
- Press the three dots icon in the top right corner and select 'Import' from the dropdown menu.
- Select the template.tpl file downloaded in step 1.
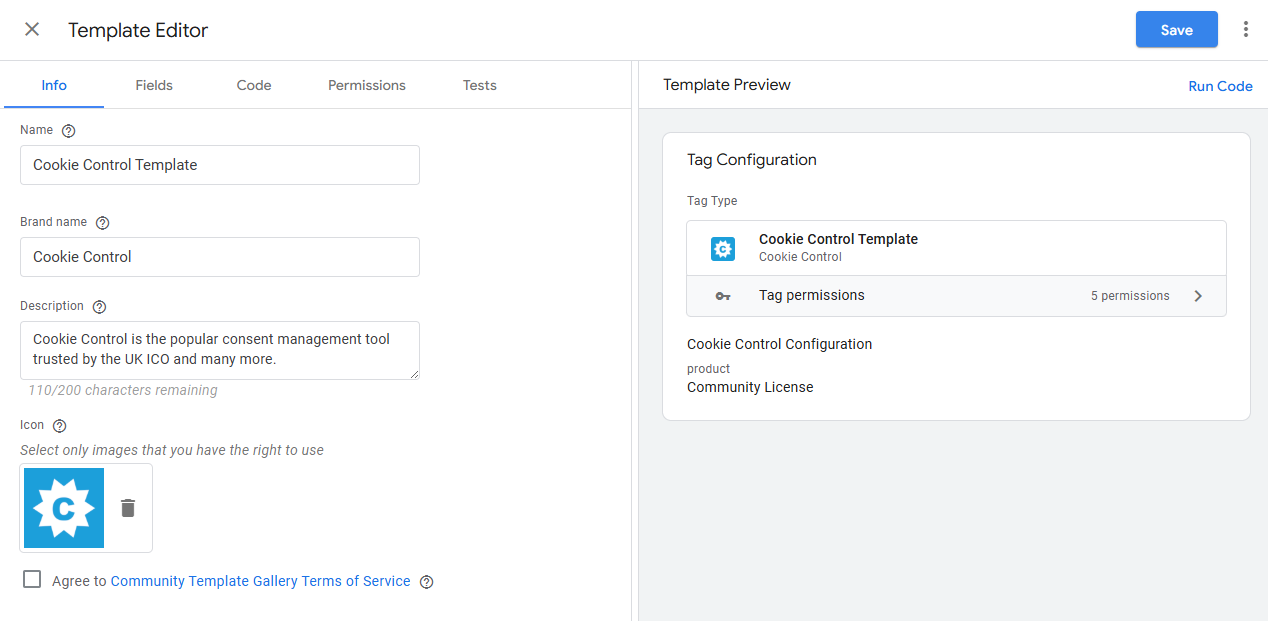
- Select 'Save'.
Anchor link for Integrate Cookie Control with Google Tag Manager on your website
- Within GTM open your container.
- From the left hand menu, select 'Tags'.
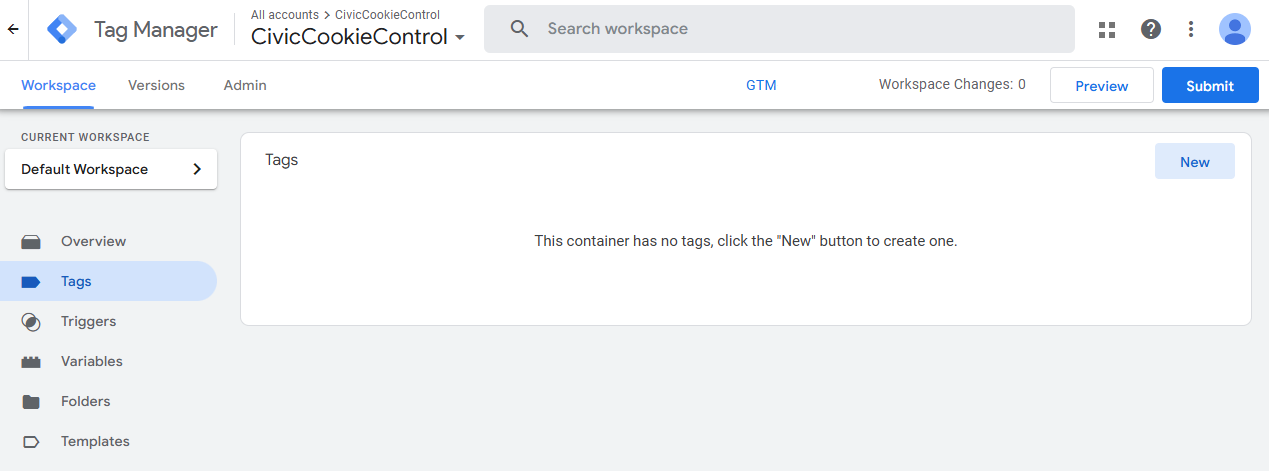
- From the 'Tags' panel, select 'New'.
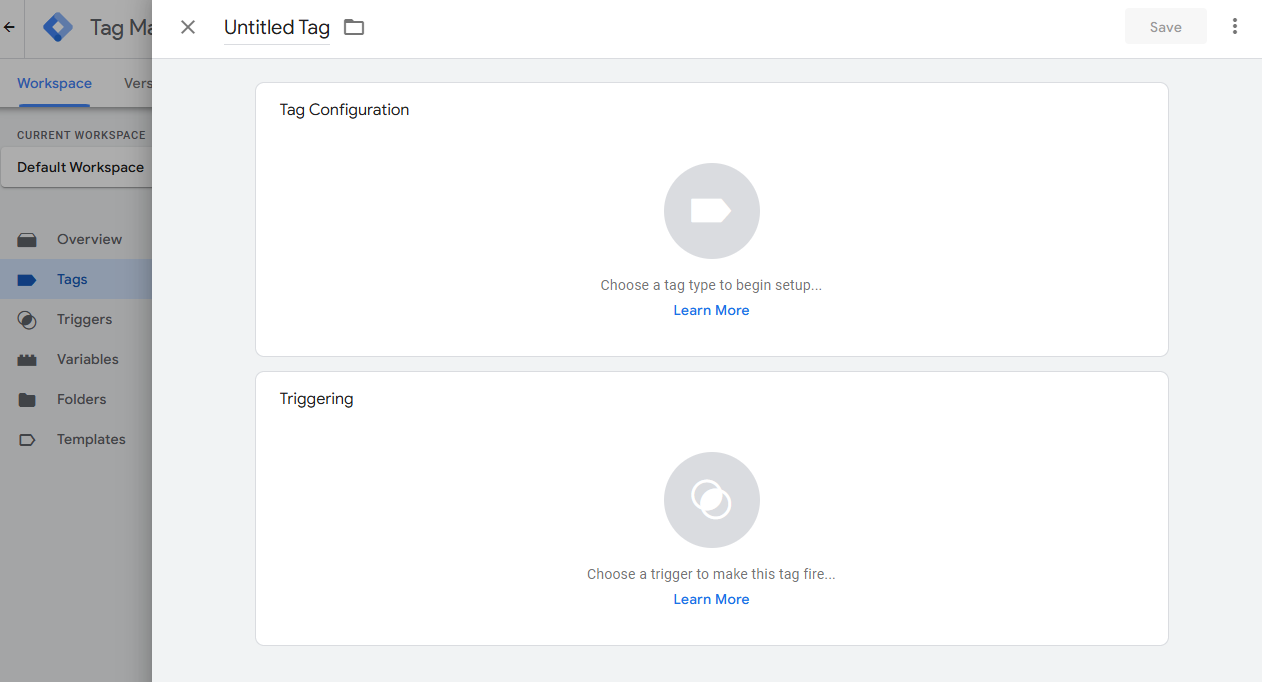
- Click on the 'Tags Configuration' panel to choose a tag type.
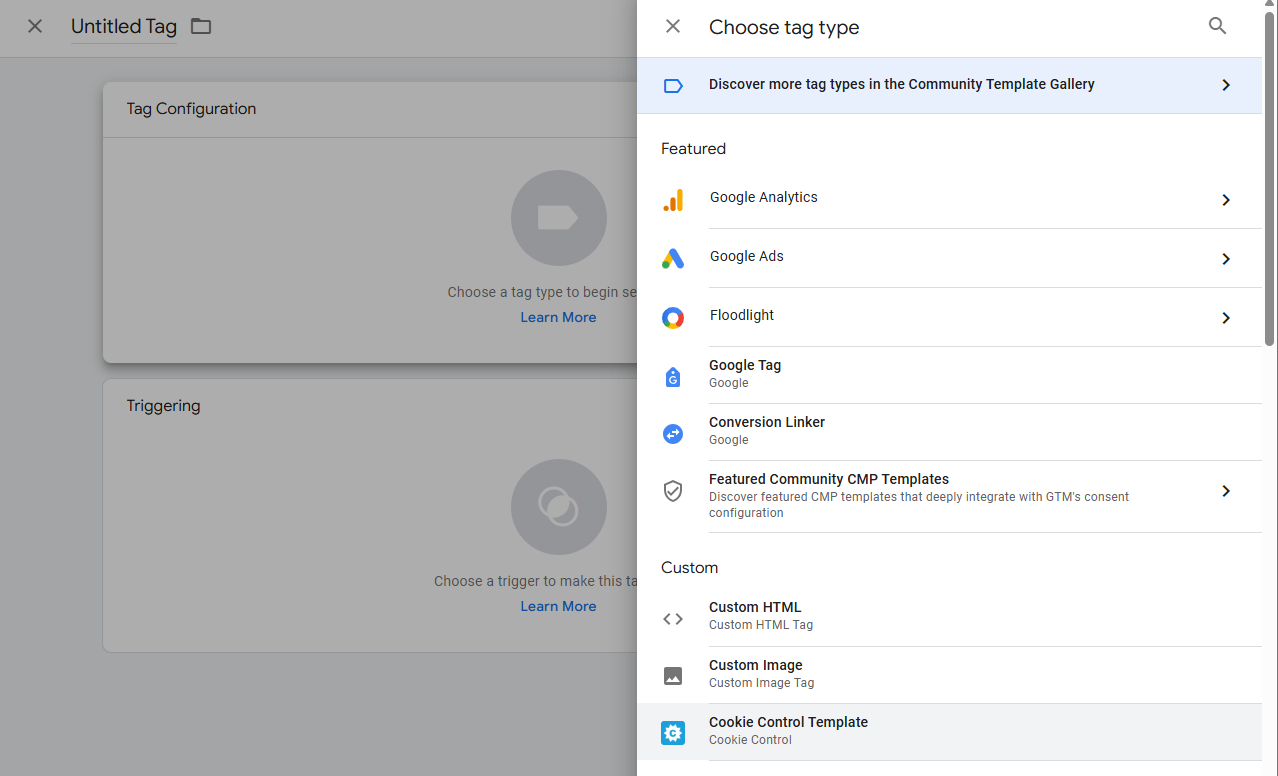
- Select the 'Cookie Control Template' tag which will be listed under 'Custom'.
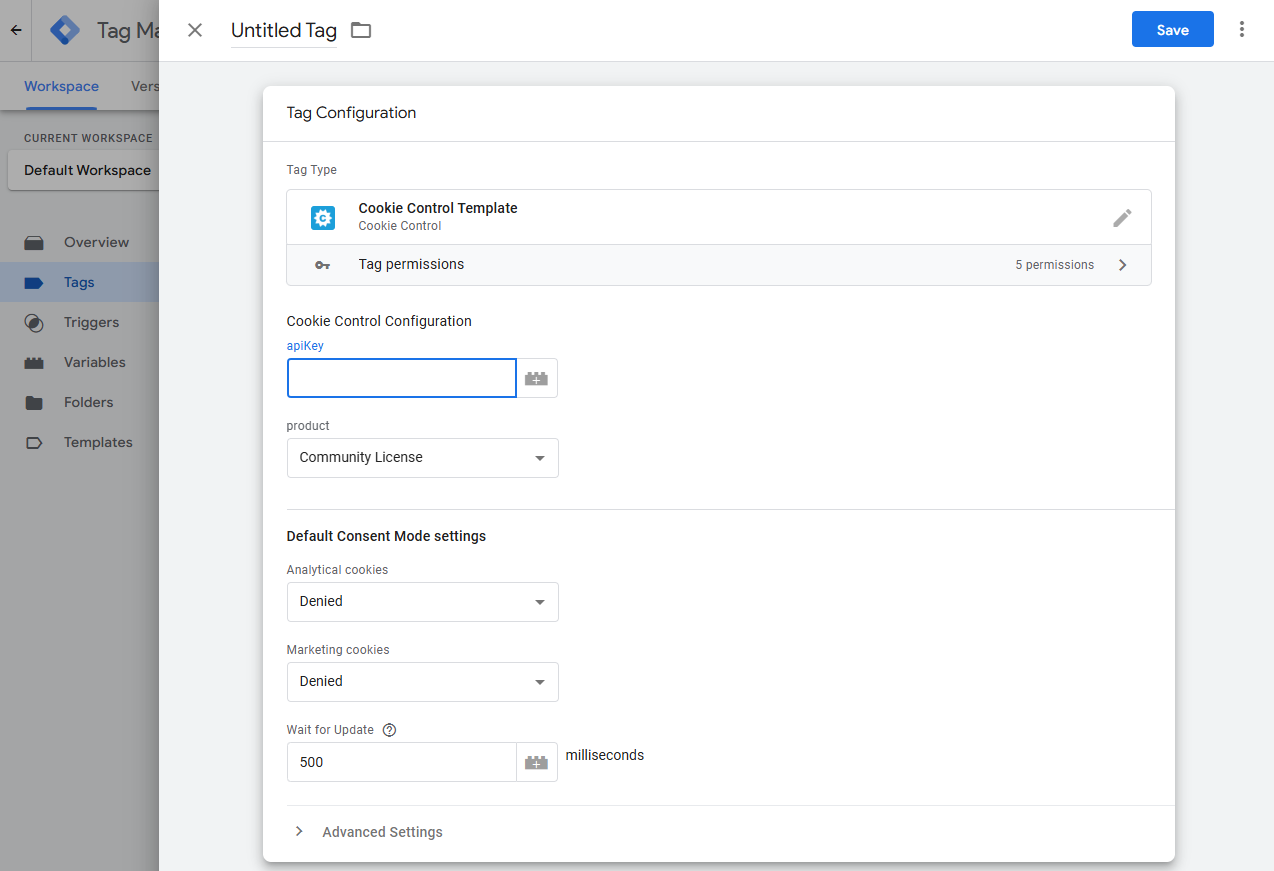
- Enter your Cookie Control 'ApiKey' and select the relevant 'Product' from your Cookie Control subscription.
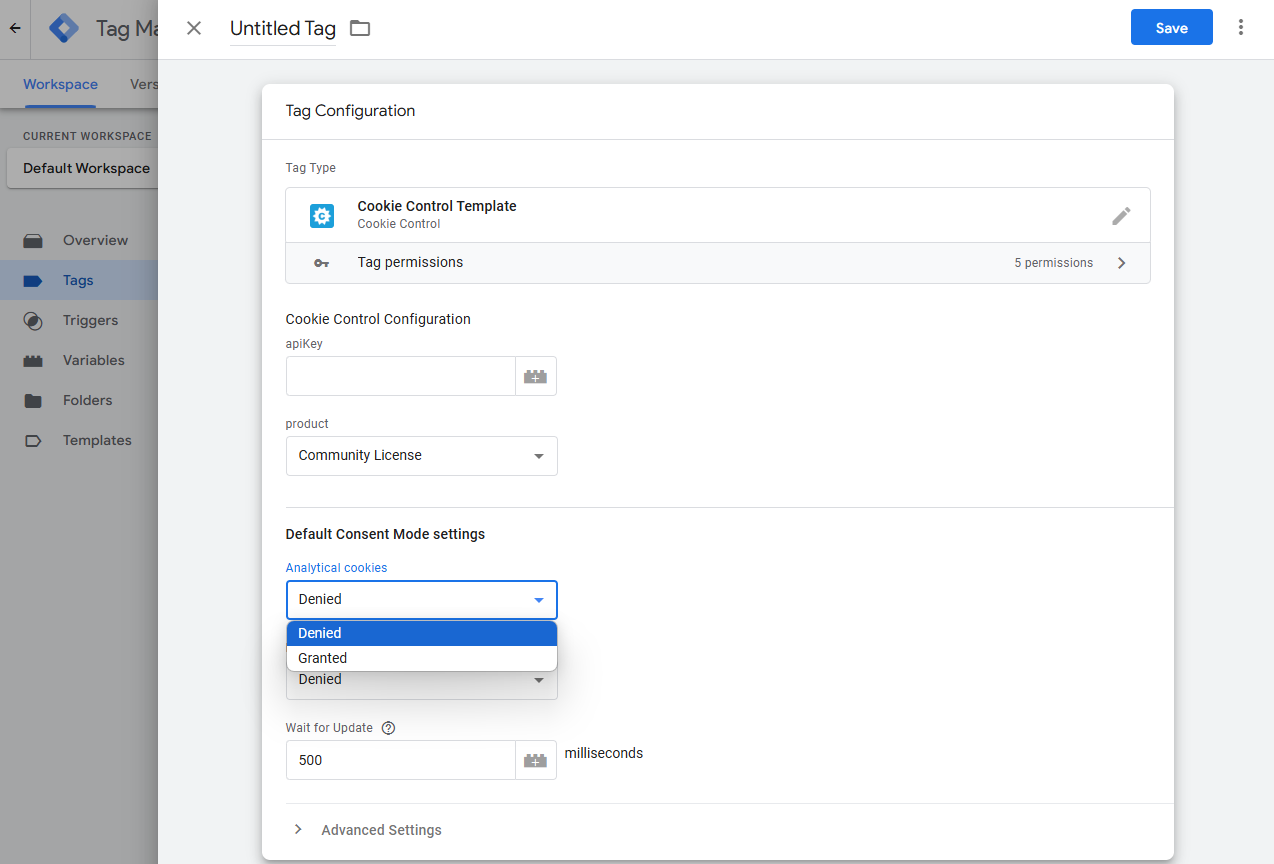
- Select your default consent mode settings ('granted' or 'denied') for 'Analytical' and 'Marketing' cookies.
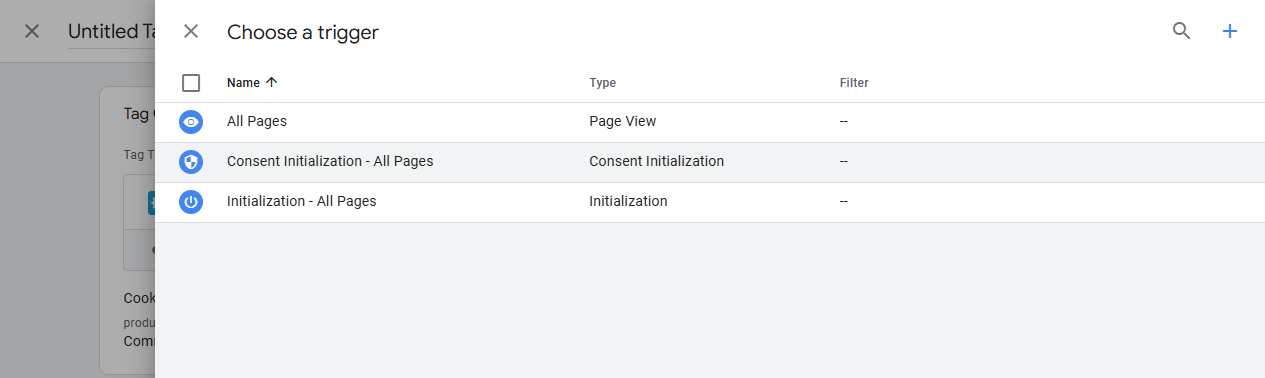
- From the 'Triggering' panel, select the 'Consent Initialization - All Pages' option.
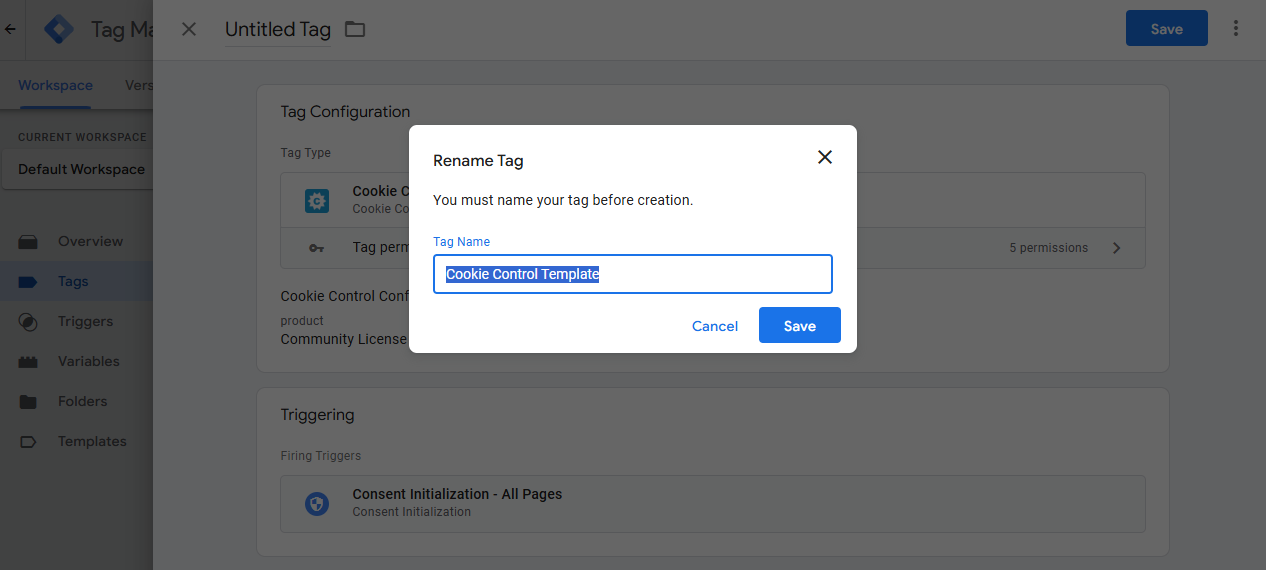
- Rename the tag and 'Save'.
Anchor link for Customising Our Google Tag Manager Template
Within GTM, after importing the template, you can modify the templates code to customise the Cookie Control implementation. This allows you to change the optional cookie categories to fit your bespoke needs or to customise branding or text options.
- 1. From the left hand menu in the GTM Dashboard select 'Templates'.
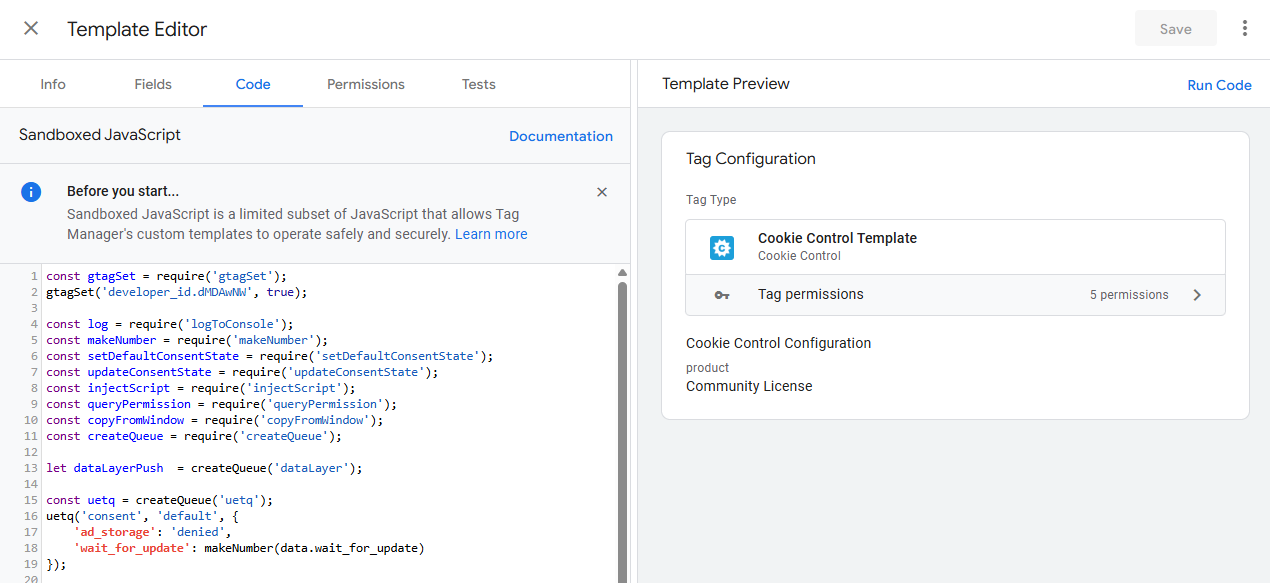
- 2. Select the Cookie Control template you imported previously and open the 'Code' tab.
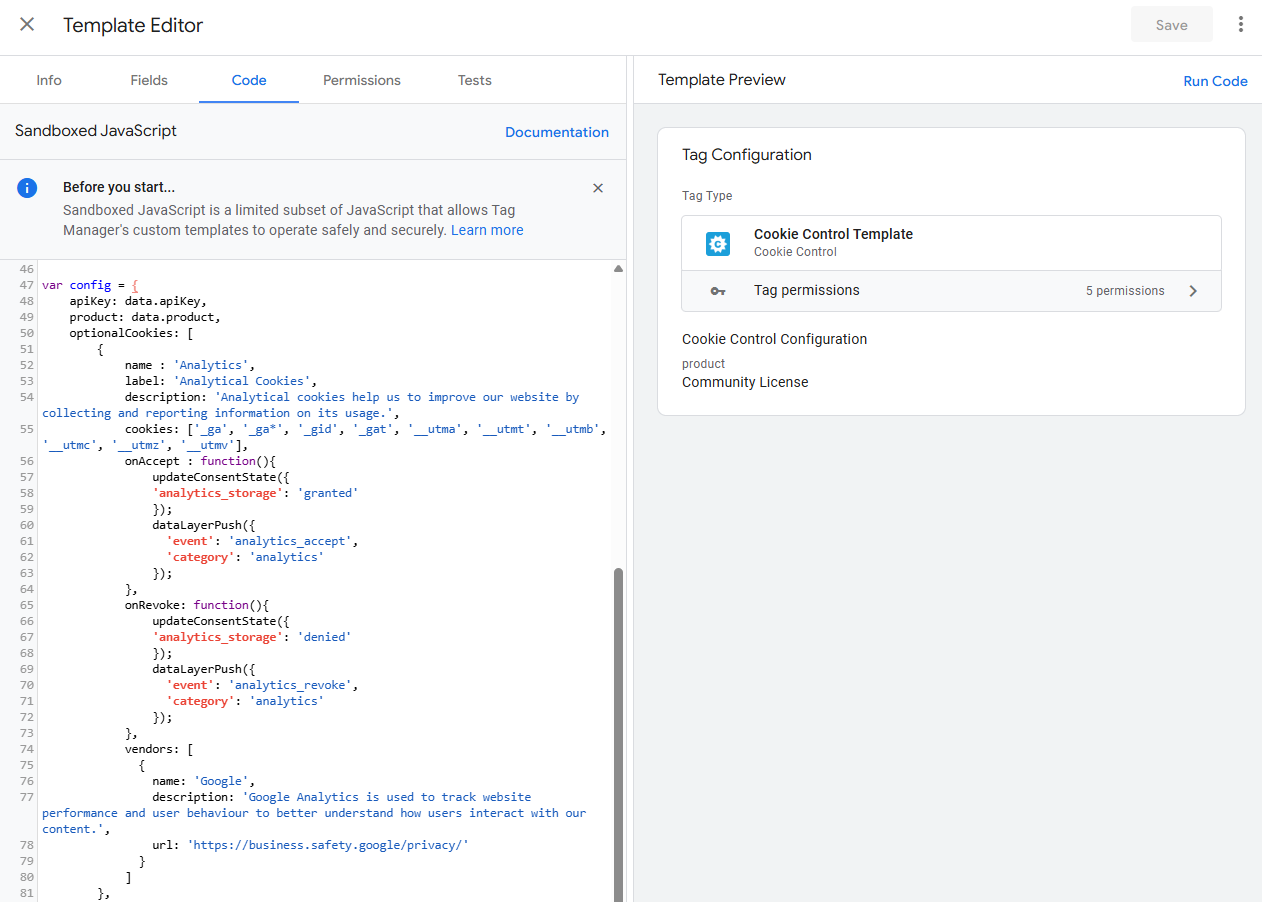
- 3. Within the code editor, find the configuration object, which by default is between lines 47 and 130(opens in a new window).
- 4. Extend the configuration for your needs using any of the other properties Cookie Control supports, such as branding or text.
- 5. Select 'Save' after making any changes.
Anchor link for Custom Events within Google Tag Manager
The Google Tag Manager (GTM) template includes the ability to track custom events when the consent status is updated for optional cookies such as Analytics and Marketing. This helps to assess how consent changes impact the overall performance of your website or app. Custom events can also be used as a trigger for loading other GTM Tags, which already assume consent has been established.
Anchor link for Create a Custom Event:
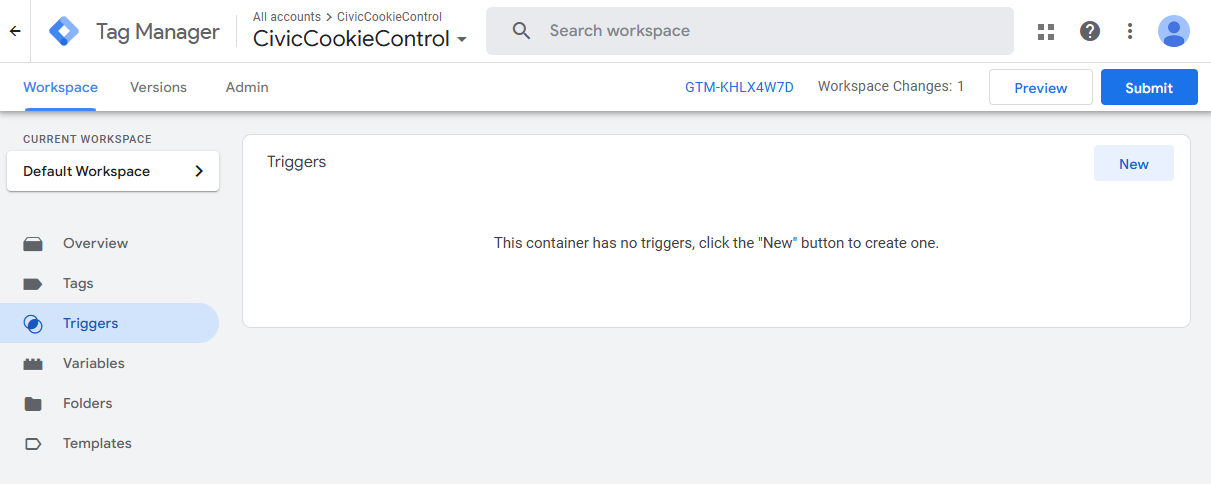
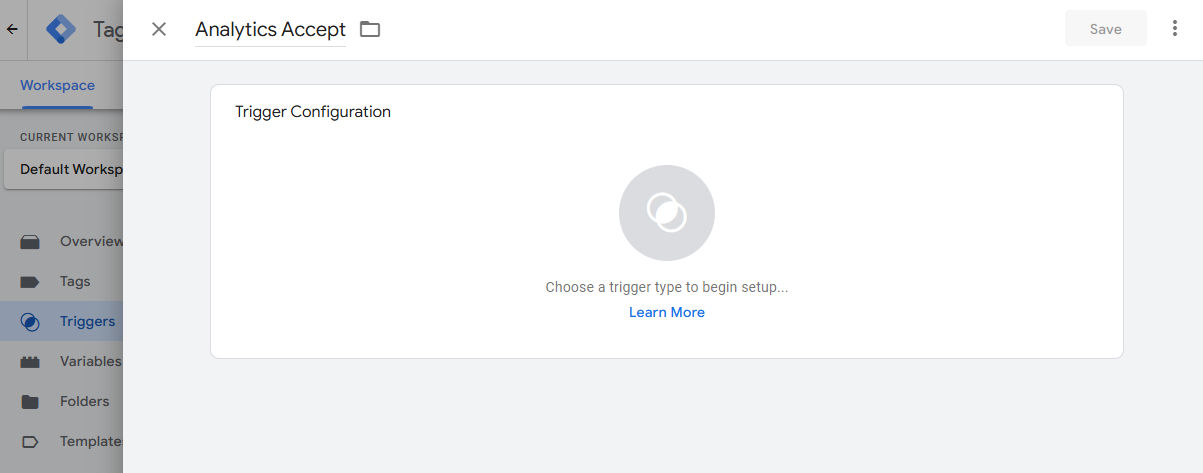
- 1. In GTM, navigate to the 'Triggers' section and create a new trigger.
- 2. By default, the template includes the following custom events: 'analytics_accept', 'analytics_revoke', 'marketing_accept' and 'marketing_revoke'.
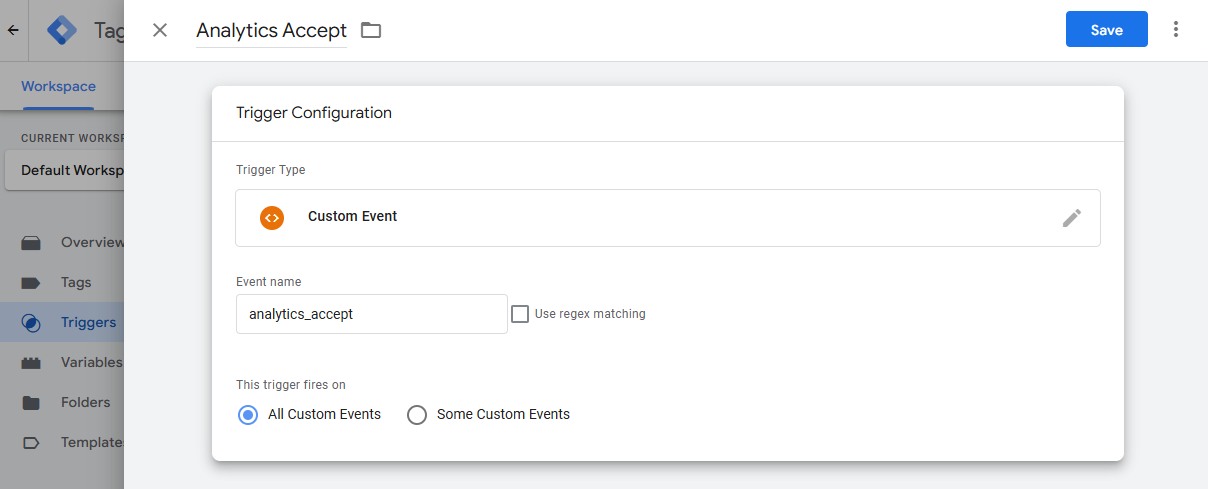
- 3. Give the trigger an appropriate name (e.g. Analytics Accept).
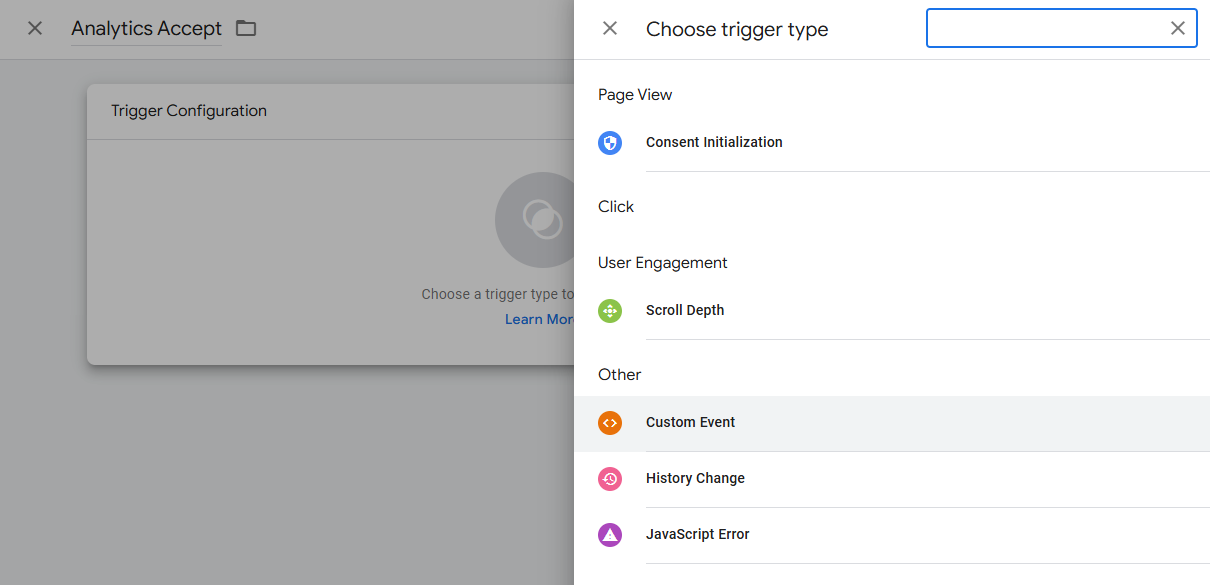
- 4. Select 'Custom Event' as the trigger type found under Other.
- 5. Set the event name based on the conset change we are looking to track (e.g. analytics_accept) and set the trigger to fire on 'All Custom Events'.
- 6. After defining the custom event settings, 'Save' the trigger.
- 7. Repeat this for each consent state (e.g. Analytics / Marketing, Accept / Revoke).
Anchor link for Using Custom Events:
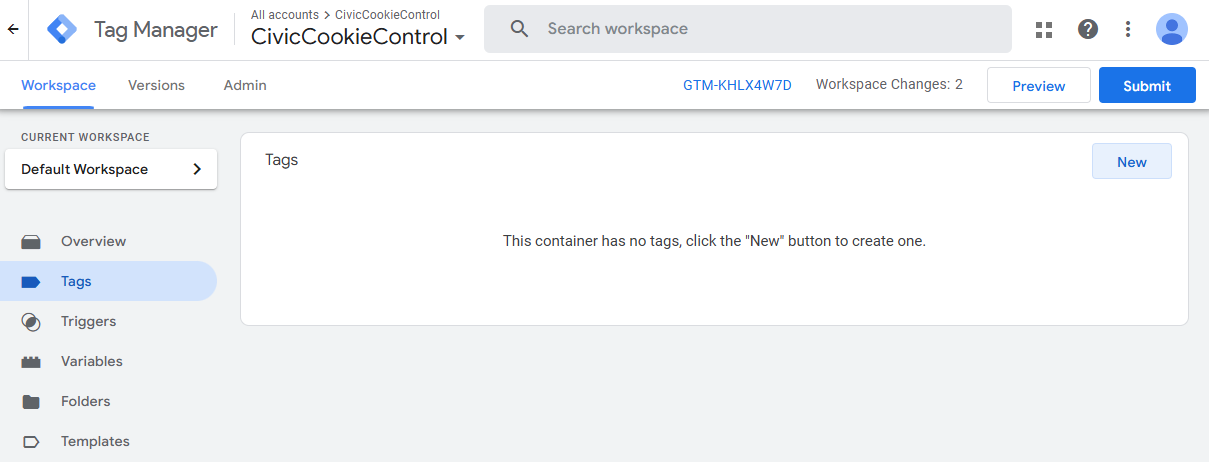
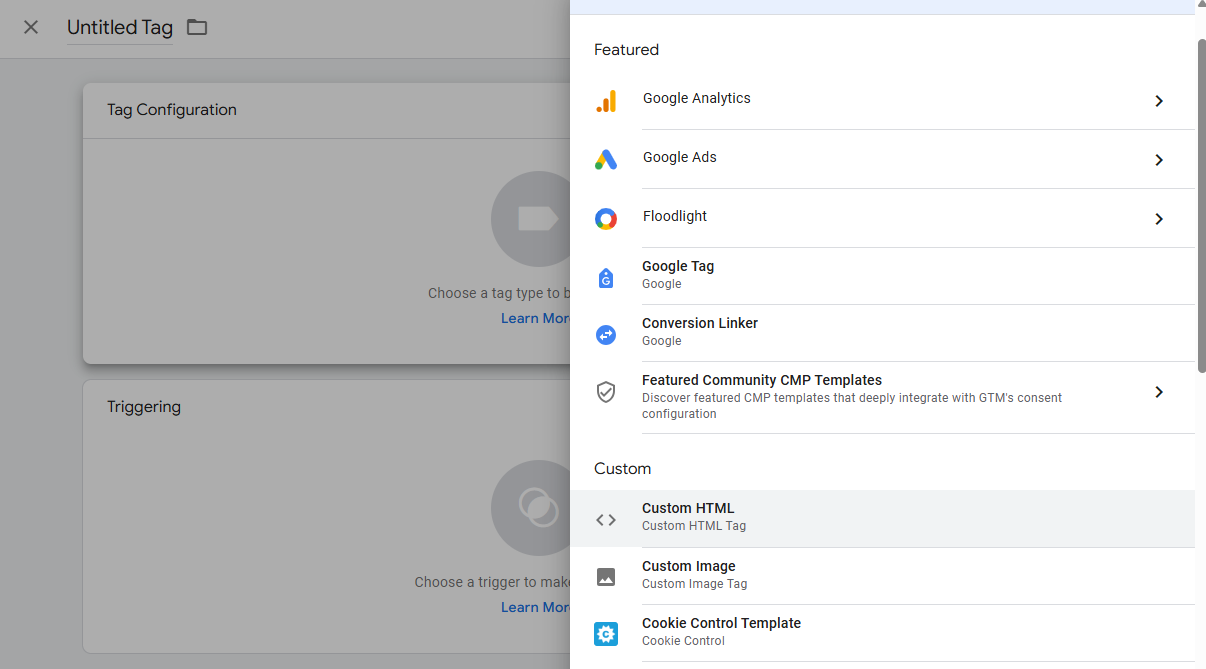
- 1. Go to the 'Tags' section in GTM.
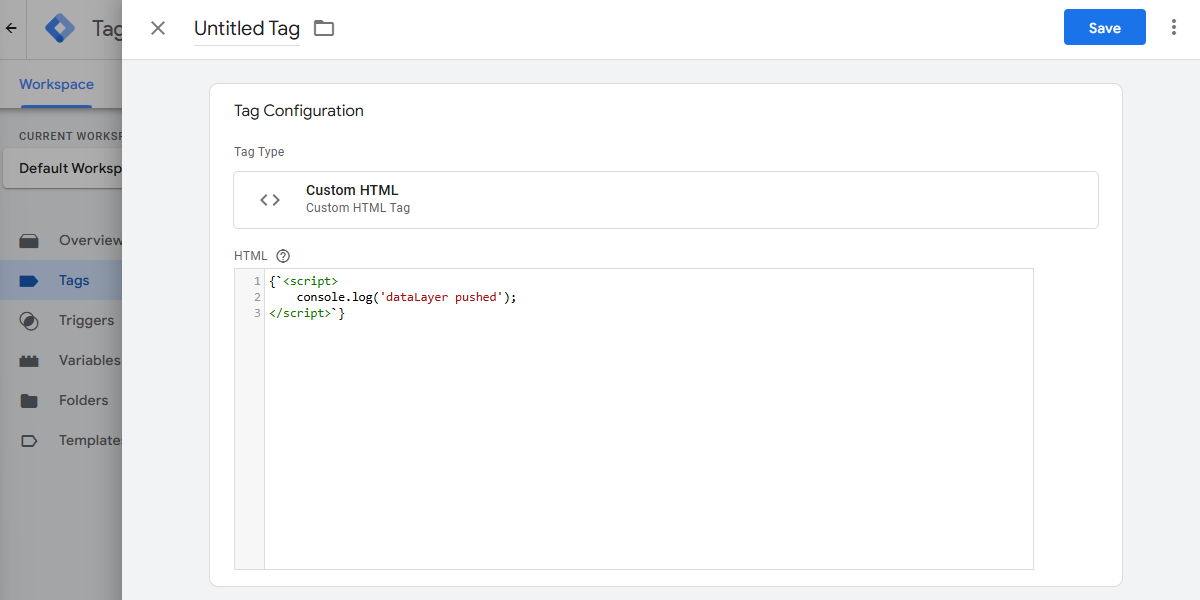
- 2. Create a new Tag, for example a 'Custom HTML' Tag.
- 3. Edit the HTML code block as needed.
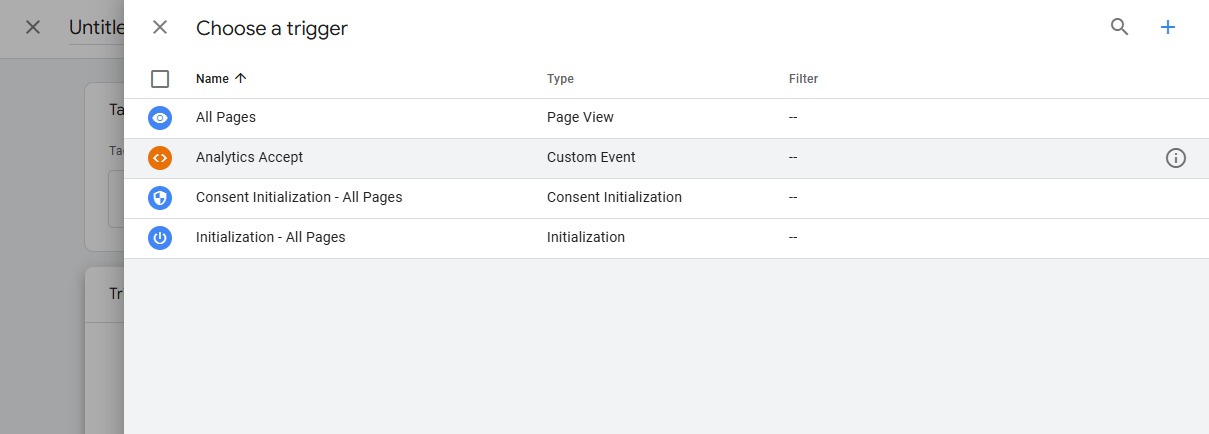
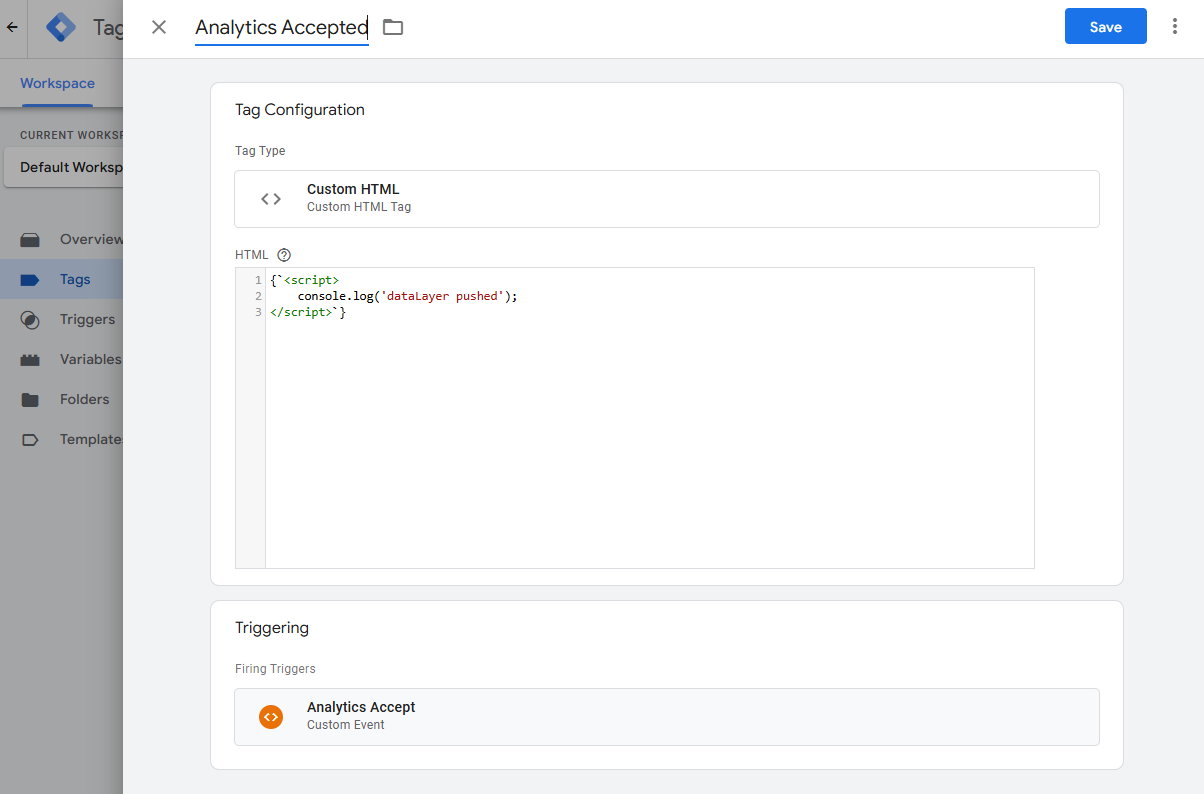
- 4. Assign the previously created custom event trigger (e.g. Analytics Accept) to this tag.
- 5. Name the tag and 'Save'.
- 6. To test the custom event, once the event fires, check the browser's console for the message "dataLayer pushed" to confirm the event has been successfully recorded.
If you would prefer to manually integrate Cookie Control with Google Consent Mode v2 for easier customisation opportunities, please see our Guide on Optional Categories where it is used as the main example.